I am all about making up any excuse to have a party. It doesn’t have to be a big holiday or birthday for me to whip up a yummy treat, play games, or even decorate and invite guests over for some fun. Because it had been a whole week since our last party, in honor of Mardi Gras, it was time to change things up. I decided to jump on board and show my Disneyside with my own Disneyside @Home Celebration. Because Miss Bea is as much of a partier as I am, I let her help me pick the theme, and even decorate. When I throw a party I don’t like to spend a lot of money, so let us show you how we show our Disneyside with a low budget Minnie Mouse Themed Party.
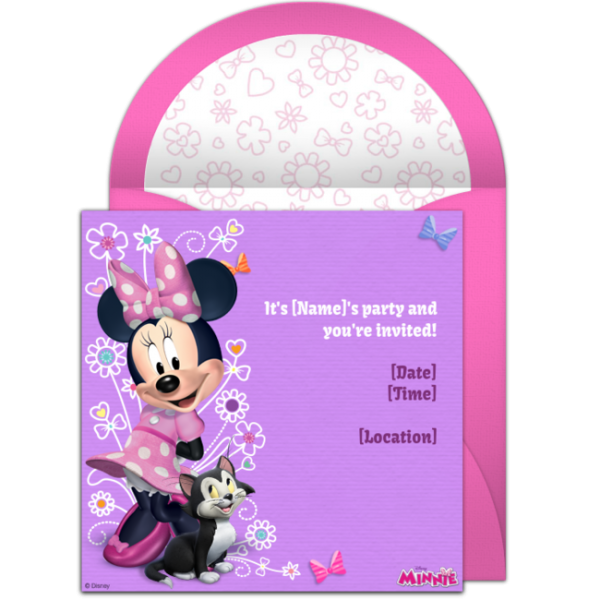
First up is the guest list. For this particular party, we stuck with family. There wasn’t anything big to celebrate, other than needing quality time with my loves before heading off to my honeymoon cruise. We invited grandma and grandpa and some cousins. When throwing a low budget bash, go homemade for the invitations, or look online for free printable invitations. Punchbowl has some super cute Disney invitations.
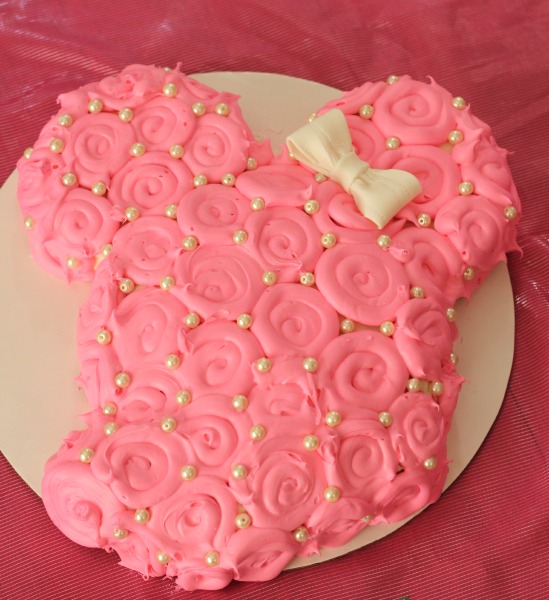
When it comes to decorations, I am all about simplifying. I pick one thing to feature, and I base everything else around that one thing. It gets put front and center, and I go all out on just that one item. If you have one item to wow your guests, then the rest doesn’t matter quite so much. For our Minnie Mouse party, I went with pink decorations and focused on the cake. I wanted the cake to be front and center, and I couldn’t be more pleased with how well it turned out. I use a Mickey Mouse cake pan I had, and instead of needing several colors of frosting to create Minnie’s face, I piped rosette’s all over. Then used pearls (you can find edible pearls in the baking aisle of most stores), to stick in between my rosettes. This really classed up the cake! Then I shaped a small bow for Minnie, using gumpaste. Fondant works too. I will have to upload a tutorial for this soon!

Instead of just having a white cake, I divided the batter into thirds and dyed 1/3 pink, 1/3 purple and left 1/3 white. Simply pour the white batter in the center of the pan and let it settle a bit. Then pour the pink batter in the center of the white batter, and allow to settle. Finish by pouring the purple batter in the center of the pink batter, and allow to settle. Gently shake the pan to level off the batter, and bake. Simple, but definitely a fun touch.
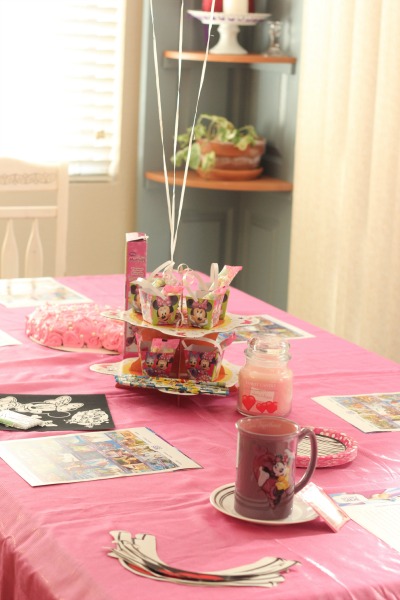
To decorate the table I used a pink curtain I had in Miss Bea’s room, and topped it with some activity sheets (Disney character word searches, Bingo and Trivia). I also picked up some activities at the dollar store, such as puzzles, felt coloring sheets, and balloons for decor. Then I snagged some pink and white polka dot dessert plates from the Dollar Tree, which fit perfectly with the theme.
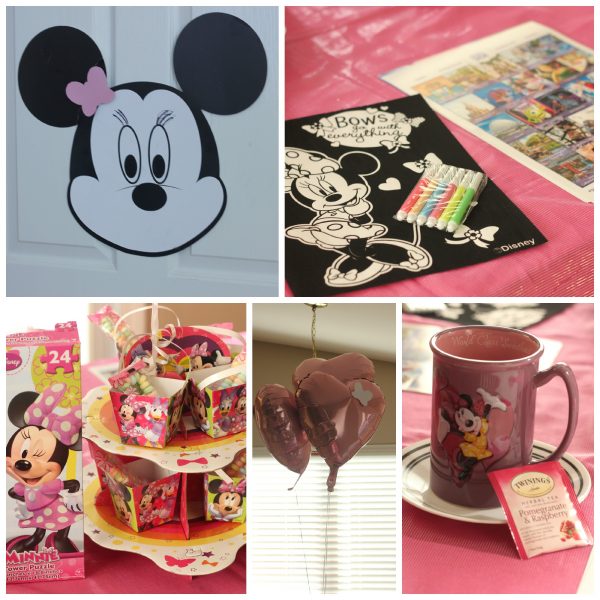
I filled little Minnie Mouse boxes with candies from the dollar store, for a party favor. To spruce up the balloons, I used a butterfly cookie cutter and cut out Minnie’s Bow, from white cardstock. Taped it to the “ear” of my heart-shaped balloons, to look kind of like Minnie’s ears! I then used the same butterfly cookie cutter to cut out another “bow”, and placed it on my Mickey head, for “Pin the mouth on Minnie Mouse”. So easy to turn a Mickey into Minnie, with the addition of these easy bows!

For our “grandma” guest, I pulled out my special Minnie Mouse mug and served up some delicious Twinings Tea – a favorite herbal tea for my mom. Grandma sat back and sipped some tea with my sister, while they supervised and helped call out the bingo cards. The kids were so excited to have a party “just because”. Even the boys were getting into the games, despite the fact that everything was pink and covered in Minnie. Any excuse to play together and make a big fuss is good in my book.
I want to see your Disneyside! Comment with your favorite Disney character or movie, and share your links to your Instagram photos showcasing your Disneyside.
Alena Belleque says
I adore that cake!! You’ve inspired me; I’m going to try something similar for my party. Thanks!
Emily Lyon says
Thank you Alena!