

We’ve been going gangbusters on our master bathroom and it’s been so fun to see it start looking like what could be a bathroom! Goodbye empty closet space! It’s week 2 of the Jeffrey Court Renovation Challenge! Since Keith has primarily been doing electrical, a little wall building and behind-the-scenes stuff, this week I’m sharing tips for designing a master bath. Let’s face it, I don’t have a clue how to do electrical or HVAC so I’m leaving that to Keith.
There are a few important questions you need to ask yourself before you get to building, so let’s go over that first.
Tips for Designing a Master Bath
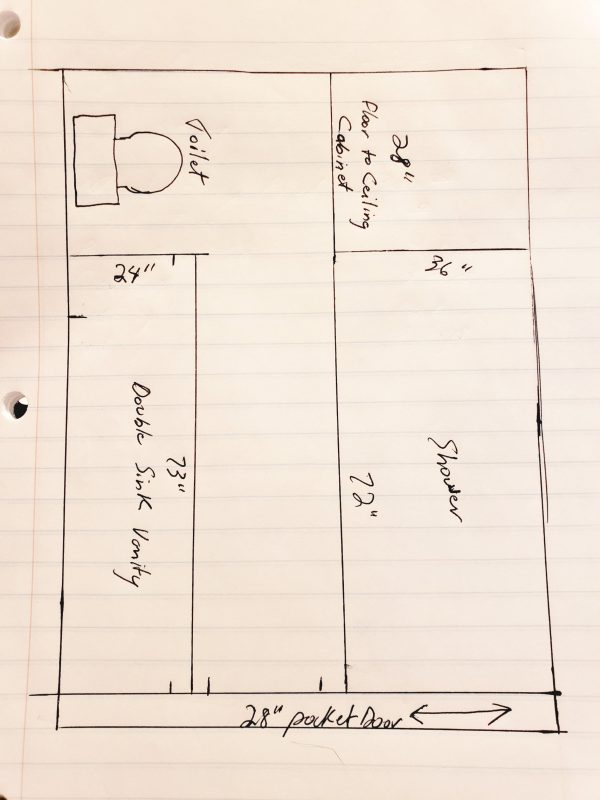
- Do you want a shower and a bathtub, a combo of the two, or just a shower? This may come down to space, but preference could play a part. We have room to do a bathtub and a small shower, but we thought we would get more use out of a really nice spa shower. So that’s what we decided to do.
- For your vanity, do you want one or two sinks? We originally wanted one sink because Keith and I rarely get ready at the same time. Then we thought of resale value, and most people want two sinks in their master bath. Since we decided on a 6 foot vanity, we figured we could go for two sinks and still have plenty of counter space.
- Configuration. Where can you access plumbing and sewer and how do you want your bathroom to look? Nobody can answer these questions but you and your contractor, if you have one. Our toilet needed to be on an exterior wall for easy sewer access, but the rest was pretty much up to me. We sketched several layouts and finally settled on what we thought would suit us best.
Design
Now that you have the layout and configuration of your master bath, it’s time for the fun part and that’s designing! Will you paint the walls, add wallpaper, shiplap or tile everything? So many choices and we’re doing a little of everything!! Tile plays a big role in the bathroom, and if you’re doing a spa shower like us, then there will be a lot of tiling. I want it to look perfect so I spent hours on the Jeffrey Court website scouring over tons and tons of beautiful tile, trying to find the perfect styles. Jeffrey Court tiles are sold in The Home Depot, but not all stores carry the same selection. Luckily, you can view the Jeffrey Court website with all their tile selections available at The Home Depot.
Before choosing my tile, I took the “Find Your Tile Style” quiz, offered by Jeffrey Court. My style is Farmhouse, but the quiz also called out several tile selections that would suit my tastes. I played with some of those options and just searched and searched until I found what I thought would be the best combination.

I had also picked out this super fun wallpaper from Wayfair, as an accent wall in my master bath. I wanted the tile to go well with that pattern, so that was a consideration. So many little aspects that go into the design!
When designing a master bath you need to ask yourself…
Where do you want tile?
The main bathroom floor needs tile of course, another for the shower floor, a third for the shower walls and lastly a trim piece for the shower walls. I’m no pro at tile selection, but I think I did a pretty good job of picking tiles that look really good together! I first chose my main floor, using the Balancing Act White Interlocking tile.

After looking at The Home Depot website to see what customers often purchase with this tile, I came up with Jeffrey Court Lakeview White Chevron. When I saw this tile, I just knew it would be perfect for my shower floor. The Chevron pattern pairs nicely with the diamond pattern on the Balancing Act Mosaic.
Now what to do on the walls? Since I’ve got color in both floor tiles, I thought it would be best to stick with a white for the walls. I’m still trying to decide on white or grey grout for the walls, but we’ll talk more about grouting later. After looking through all the mosaics Jeffrey Court had to offer, I settled on the Spaced Out Mosaic. If we lay this the right direction, Spaced Out gives the appearance of a chevron pattern! We’ll trim the shower walls with Allegro White Pencil Trim, for a finished look.

Once we decided on all the tile, everything else has been much easier to pick out, to coordinate. I still need to order my mini chandelier and vanity lights, but we’re almost there.
Here’s a recap of what was done in week 2 of the Jeffrey Court Renovation Challenge.

- Installed Heat & Air
- Exhaust fan installed
- Cut holes and placed can lights, and pre-wired for chandelier
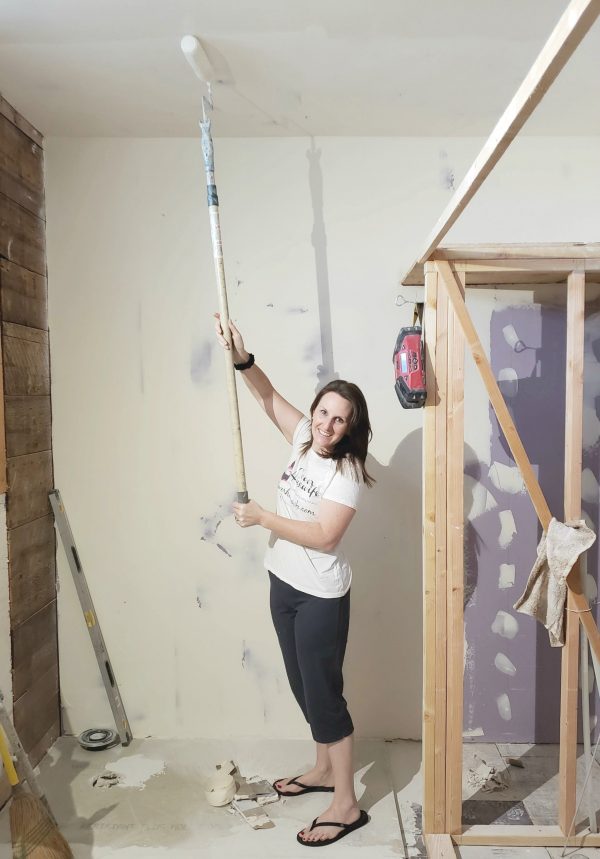
- Smooth imperfect texture on ceiling and walls
- Painted ceiling and walls that won’t be covered by shiplap or tile
- Began building shower curb
- Ordered shower fixtures
Be sure to follow me on Instagram for more updates as we go, and #JCRenovationChallenge to see the other participating bloggers!
Leave a Reply